Surface finish describes the roughness or irregularity of a surface using a measurement system to quantify the results. This system covers a wide range from extremely rough-textured surfaces all the way to those that are highly polished, mirror-like surfaces. The predominant parameter is Roughness Average, denoted by “Ra,” which is the arithmetic mean deviation of a profile. The higher the number, the rougher the finish. Roughly milled surfaces will be in the 250 to 500 Ra µin (6.3 to 12.5 µm) range. Smooth surfaces machined by successive light passes on a surface grinder with flood coolant will yield finishes in the 16 to 32 Ra µin (0.4 to 0.8µm) range. The span of 16 to 500 Ra µin (0.4 to 12.5 µm) covers the majority of machined tools and parts in industry today. There are extremes beyond that range of course, but for purposes of Non-Destructive Testing (NDT) standards, they are rare.

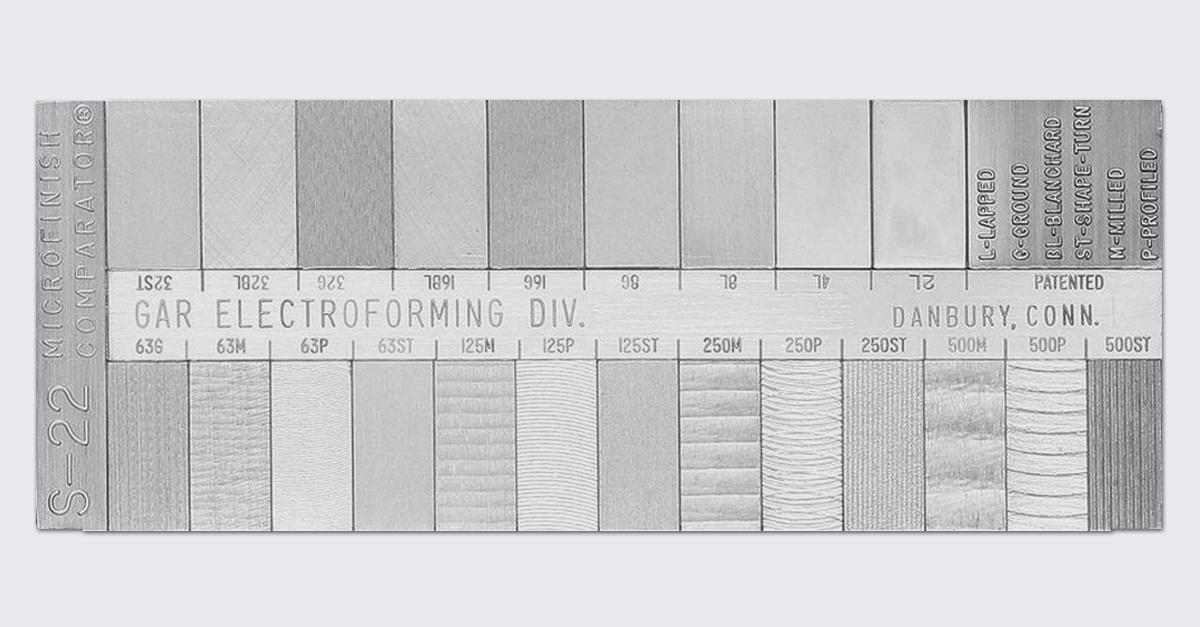
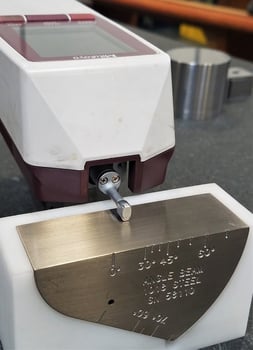
The primary instrument used to measure surface finish is a profilometer. The profilometer is a contact method of finish measurement that employs a stylus that is automatically driven across the part’s surface. The stylus observes and records the peaks and valleys of the surface, typically perpendicular to the lay. Lay is described as the direction of dominant pattern from machining with a milling cutter, grinding wheel, lathe, or other process. For non-directional machining methods such as electrical discharge machining (EDM), lay is less important as there is no clear direction to consider. Another common and simpler method for estimating surface finishes is to use a Surface Finish Comparator. This handheld gauge contains small samples of a range of finishes and methods that can be visually compared to the surface in question. While not nearly as precise as a profilometer, it is a fast and easy method to get in the ballpark.
When we consider surface finish in our unique world of NDT, there are a few things to keep in mind. Specifications governing the design and manufacture of NDT standards always include language stating that the finish of the standard must be representative of the part under test. For application-specific reference standards (rocket engine components, nuclear reactor studs, ASME pipe calibration standards, etc), having a matching surface finish is just as important as having the same geometry, alloy, heat-treat condition, ultrasonic velocity or electromagnetic conductivity measurement as the component under test.
There is a different approach for non-representative NDT standards (a.k.a. standard test blocks), such as the IIW-Type Block, DSC Block, and countless others. These are general purpose tools of a simplified design that are used to calibrate and standardize the response from an NDT instrument. Surface finish is important to consider on standard test blocks, but for a different reason than on application-specific standards. The drawings and specifications that govern standard test blocks typically call for a uniform, smooth finish that will yield a consistent, repeatable response from the testing instrument every time. The scanning surfaces of standard test blocks typically have a finish of 32 Ra or smoother. To achieve this, the manufacturer must use surface grinding techniques on those areas. A nice aesthetic appearance showing good workmanship doesn’t hurt either, and is appreciated by many.
Ignoring finish when making standards is a sure way to ensure your standard is not fit for the intended calibration. No UT Level III would want to calibrate on a pipe standard with a polished scanning surface measuring 16 Ra µin (0.8 µm) if the pipe to inspect measured 125 Ra µin (3.2 µm). Conversely, using a standard that is too rough for the job is a recipe for failure.
When designing and ordering NDT standards, be sure to consider the finish you are hoping to achieve and include this information on your RFQ and drawing so that the manufacturer knows what is expected of the finished standard. Without this insight, you may be in for a surprise and a questionable calibration. PH Tool offers many ways to impart desired finishes on standards, including milling, grinding, sinker and wire EDM, polishing, lapping, media blasting, wheel abrading, and more. Contact Technical Sales to help determine which is right for your application.


