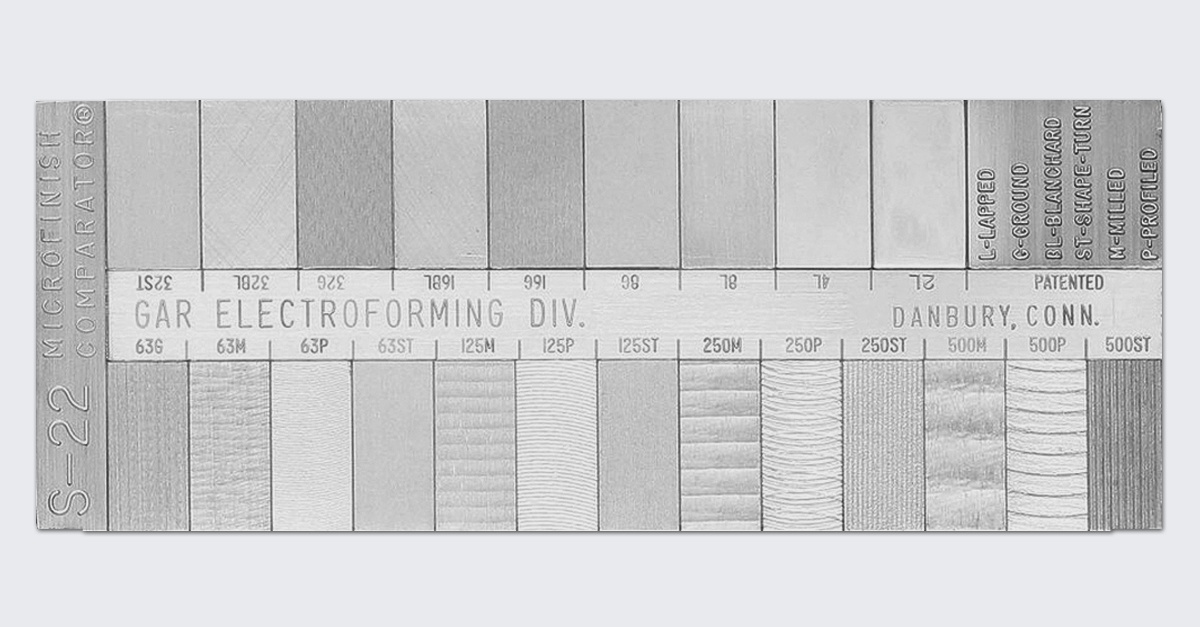
Surface finish describes the roughness or irregularity of a surface using a measurement system to quantify the results. This system covers a wide range from extremely rough-textured surfaces all the way to those that are highly polished, mirror-like surfaces. The predominant parameter is Roughness Average, denoted by “Ra,” which is the arithmetic mean deviation of a profile. The higher the number, the rougher the finish. Roughly milled surfaces will be in the 250 to 500 Ra µin (6.3 to 12.5 µm) range. Smooth surfaces machined by successive light passes on a surface grinder with flood coolant will yield finishes in the 16 to 32 Ra µin (0.4 to 0.8µm) range. The span of 16 to 500 Ra µin (0.4 to 12.5 µm) covers the majority of machined tools and parts in industry today. There are extremes beyond that range of course, but for purposes of Non-Destructive Testing (NDT) standards, they are rare.
The Importance of Surface Finish when Making NDT Reference Standards and Test Blocks
Posted by
PH Tool
on
May 17, 2018 10:04:00 AM
0 Comments Click here to read/write comments
Topics: Surface Finish, Roughness Average, Surface Roughness


